Transformation Tuesday

When you go from "buy me as I am" to transformation glam, is what I did to these party hats for Phoenix' 3rd birthday party. There's nothing wrong with polka dot party hats, but I wanted hats that matched his dinosaur party theme, and couldn't find anything I liked at the stores (including the Dollar Tree). So I decided to try something I had never attempted before, which was to do it myself!
I went to the Big Top party store in Sacramento and bought polka dot hats that came in a package of 10 for $1, so I bought two packages just in case. I also found packages of green glitter sheets that were like large sticker sheets, with adhesive in the back. The packages were 99 cents each, and three came in each package, so I bought like four of those.
 |
| green glitter sheets |
That day I was really fortunate to run into a gal that worked at Big Top, who was superrrr helpful. I told her about the party theme and she helped me expand on ideas, and even went out of her way to provide me with Easter eggs that I needed for my dino egg hunt, which I couldn't find anywhere! It's so nice to walk in to stores where people who work there genuinely invest their time on you. I wish we could find more of that, because she was truly a blessing. I'm sharing this DIY transformation in hope that it inspires you for your next party or event, and keep in mind that it can be used for more themes than one.
DIY Supplies:
1. Plain party hats from Big Top party store or even the Dollar Tree.
2. Arts and Crafts green glittered sheets
3. Pencil
4. Ruler
4. Ruler
5. Scissor
6. Green (in any shade you'd like) cardstock like paper
7. Super glue or any really good glue
8. Sturdy paper clips
Instructions:
1.) Take 1 of your party hats apart. You only need one for the tracing process.


2.) Place the hat you've just opened up, and use a pencil to trace it as best you can onto the back of your green glittered sheet. My hat didn't entirely fit on my green glittered sheet, so I had to angle it as best I could to get the most out of the sheet.
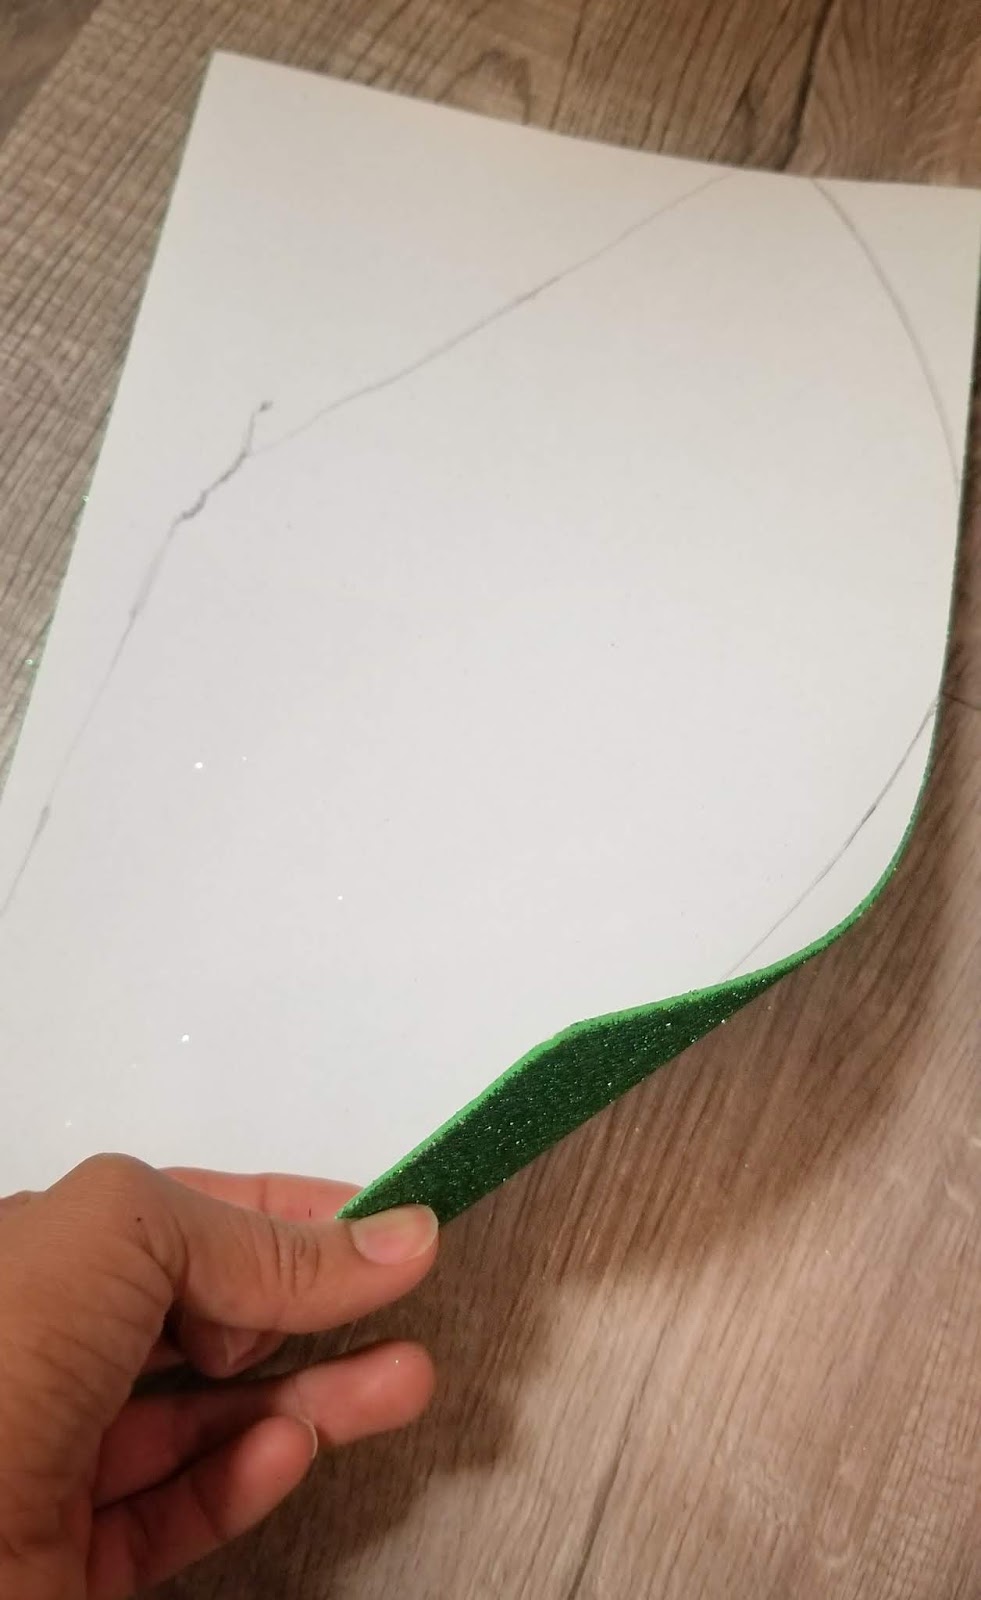
3.) After tracing on the green sheet, cut what you've traced.
4.) After cutting remove the back part-- exposing the adhesive.
5.) Adhere the green sheet onto your hat, starting from the top of the hat on one end and working carefully to meet that end again.
 |
| I ended up having to trim the bottom of the polka dot hat to remove the excess. |
 |
| Also, this happened! So I discovered the best way was to start adhering from the top of the hat. |
 |
| Once, you've adhered your transformation will look like this so far. |
6.) Use a ruler and pencil to trace out straight lines and zig-zags onto your green sheet of sturdy paper, as shown in the picture below.

7.) Cut out what you've traced.
8.) Make a fold along the non zig-zagged end of these cutouts. This fold is where you'll put some good glue and adhere it to the back of your hat.


9.) I used large and small paper clips to keep the "dino spine" and hat together. I left these clips on for about an hour, or up until I knew the glue had dried well, and then I removed them.
 |
| Dino hats complete! They can also be alligator hats, and different colored spines can be used. |


LOVE!!!!!!! Such a cute and creative idea! I'm happy his birthday was an amazing success!!! Helps having an awesome Mama!!!!!
ReplyDeleteThank you so much!!! 🤗🤗❤❤😊😊😊 I can't see who's writing, but don't forget to subscribe! 🙂
Delete